1. Measure the room to see how much paint you require
Measure the height and length of each wall, and multiply these together to get the total area. Subtract windows and doors, then add up all walls for your total. Use our easy paint calculator, or work it out with this simple equation.
For example, you have a room that has 25m² of paintable wall area, and your paint covers 14m² per litre.
- 25 divided by 14 = 1.78
- Multiply by 2 (for 2 coats of paint) = 3.57
- Buy 4L of paint – always round up, not down, as it is better to have a little paint left over than running out on paint day.
You can also use our Paint Quantity Calculator.
2. Choose your colour and finish
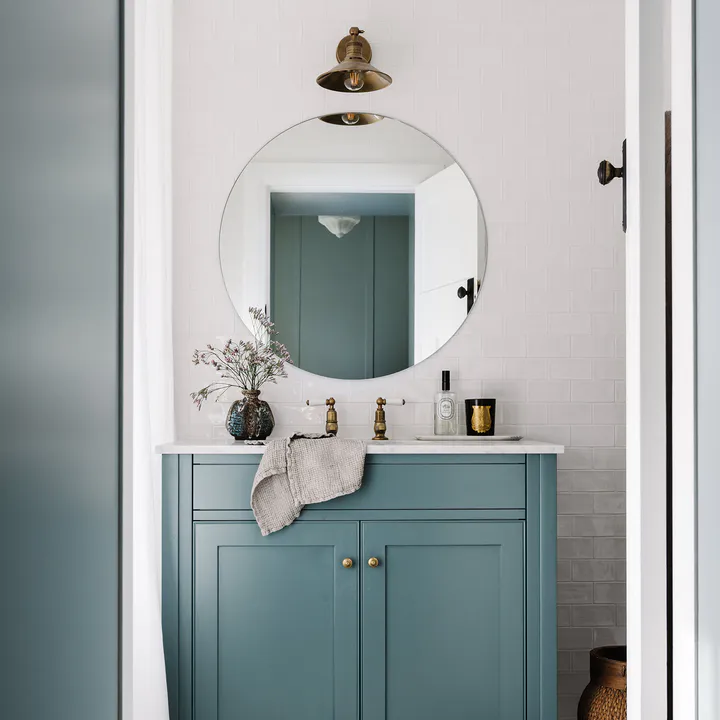
Once you have chosen your colour, then choose your finish. Porter’s Eggshell for walls, Porter’s Aquasatin for trim, cabinetry, and doors. Consider if you need primers or ceiling paint, which you may require.
3. Buy the right tools
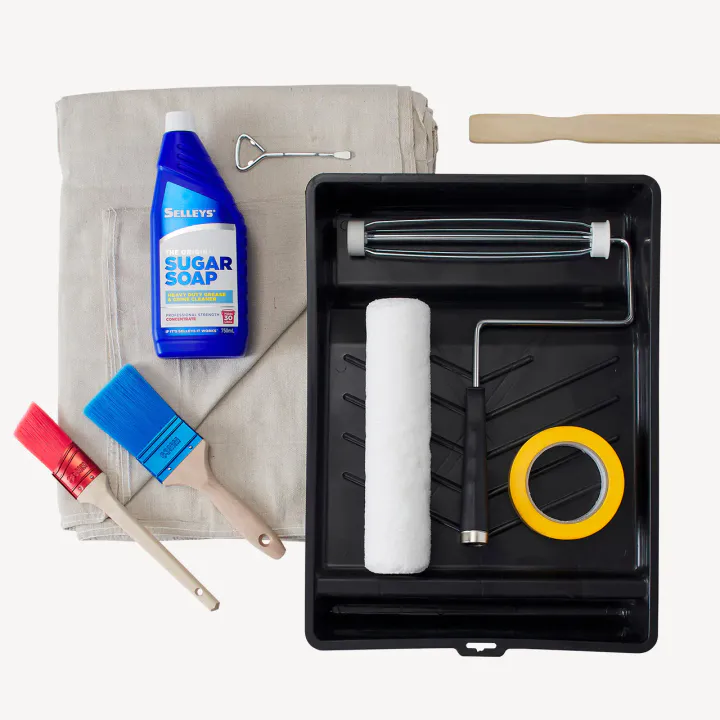
There is nothing more frustrating that discovering on paint day that you need to go out to buy your tools. We strongly recommend our "Everything You Need" set, which contains two quality brushes, a roller cover, roller frame, tray, canvas drop sheet, washi tape, wooden paint stirrer, a can opener and sugar soap.

4. Paint in natural daylight
Paint during the day, in natural light. This allows you to clearly see where you have painted, especially for the second coat when the base colour and the top colour are the same.
5. Clear the room and put down a drop sheet
Remove as much furniture from the room as you can, move any remaining pieces into the centre of the room and cover with a plastic dust sheet. Carefully lay a canvas drop sheet to protect floors from any splashes or drops.
6. Prepare walls for painting
Use a slightly damp cloth to remove any dust from the walls, and use sugar soap for any grease, oil, or grime. Fill any holes or cracks with a suitable filler and sand smooth.
Before proceeding with painting, determine if you require a primer. If your walls are previously painted with a water based paint and in good condition, you are in luck and can paint directly over the previous coating.
New unpainted walls and walls previously painted in oil paint will require one or two coats of Porter’s Prepare & Prime. Read the full product specification for further details.
7. Use washi tape for a professional finish
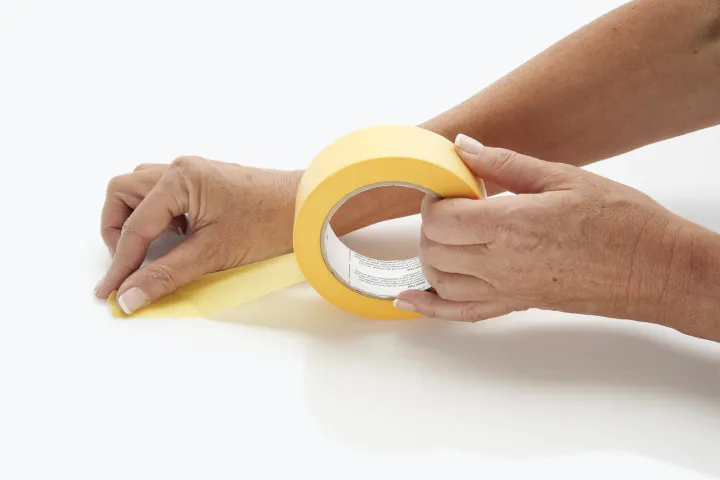
Tape up around sockets, switches and along the top of your skirting boards with Washi Tape to protect them from splashes and to make painting straight edges easier.

8. Starting to paint – cutting in
Stir your paint thoroughly and pour a small amount into your paint tray or a painter’s pot. Use a good quality edging brush to cut in, that is, to picture-frame your wall by painting a strip along the architrave where the wall meets the ceiling, down through the corners, and lastly, along the skirting boards.
9. Ready to roll!
A painter’s tip – lightly dampen your roller with clean water before starting the painting. This gives a finer, more even finish, as it allows the roller to pick up the paint without overloading.
Pour the paint into the well of your paint tray. Load the paint onto the roller evenly, using the textured tray. Roll the paint onto the wall, starting at the top corner of the wall and working down and across, using a long “W” action.
10. Time for a second coat
Allow the first coat to dry, following the recommended dry times on the can. Repeat steps 8 and 9, ensuring the wall is completely covered and no areas are missed.
11. Dry time and clean up
Allow the paint to dry thoroughly, according to the dry times on the can, and remove the washi tape during the dry time. Wash brushes and rollers thoroughly in water.
Tip – if you are painting again the next day, your roller can be wrapped in cling film without the need to wash it.
12. Scheduling your painting
If you are painting your entire room, including the ceiling, start with the ceiling first, then paint the walls, then lastly the paint doors, trim and skirting.


